 Hello blogger peeps, can't believe where May has gone. No posts for nearly 3 weeks......oh dear standards have definitely crashed to the ground. Anyway the card I have today was made for a birthday at the beginning of May. The background was made with little individual stamps from Hero Arts. The flowers were cut using my fantastic Mother's day bouquet Cricut cartridge along with the number 14 and the birthday centrepiece was stamped using a Creative Expressions stamp set. Short and sweet, but hope to be back sooner rather than later..........
Tuesday, 24 May 2011
teen card
Hello blogger peeps, can't believe where May has gone. No posts for nearly 3 weeks......oh dear standards have definitely crashed to the ground. Anyway the card I have today was made for a birthday at the beginning of May. The background was made with little individual stamps from Hero Arts. The flowers were cut using my fantastic Mother's day bouquet Cricut cartridge along with the number 14 and the birthday centrepiece was stamped using a Creative Expressions stamp set. Short and sweet, but hope to be back sooner rather than later..........

Friday, 6 May 2011
With Men in Mind......
 Hello blogland people, I have something a bit different to show you today. It's a gift box that I made from the Slider Template which Creative Craft Cabin sell. It comes with full instructions on how to use it and basically you can use it as a slider on a card or make it into a stand alone box, or if you want your cake and eat it, mount the box on the card lol.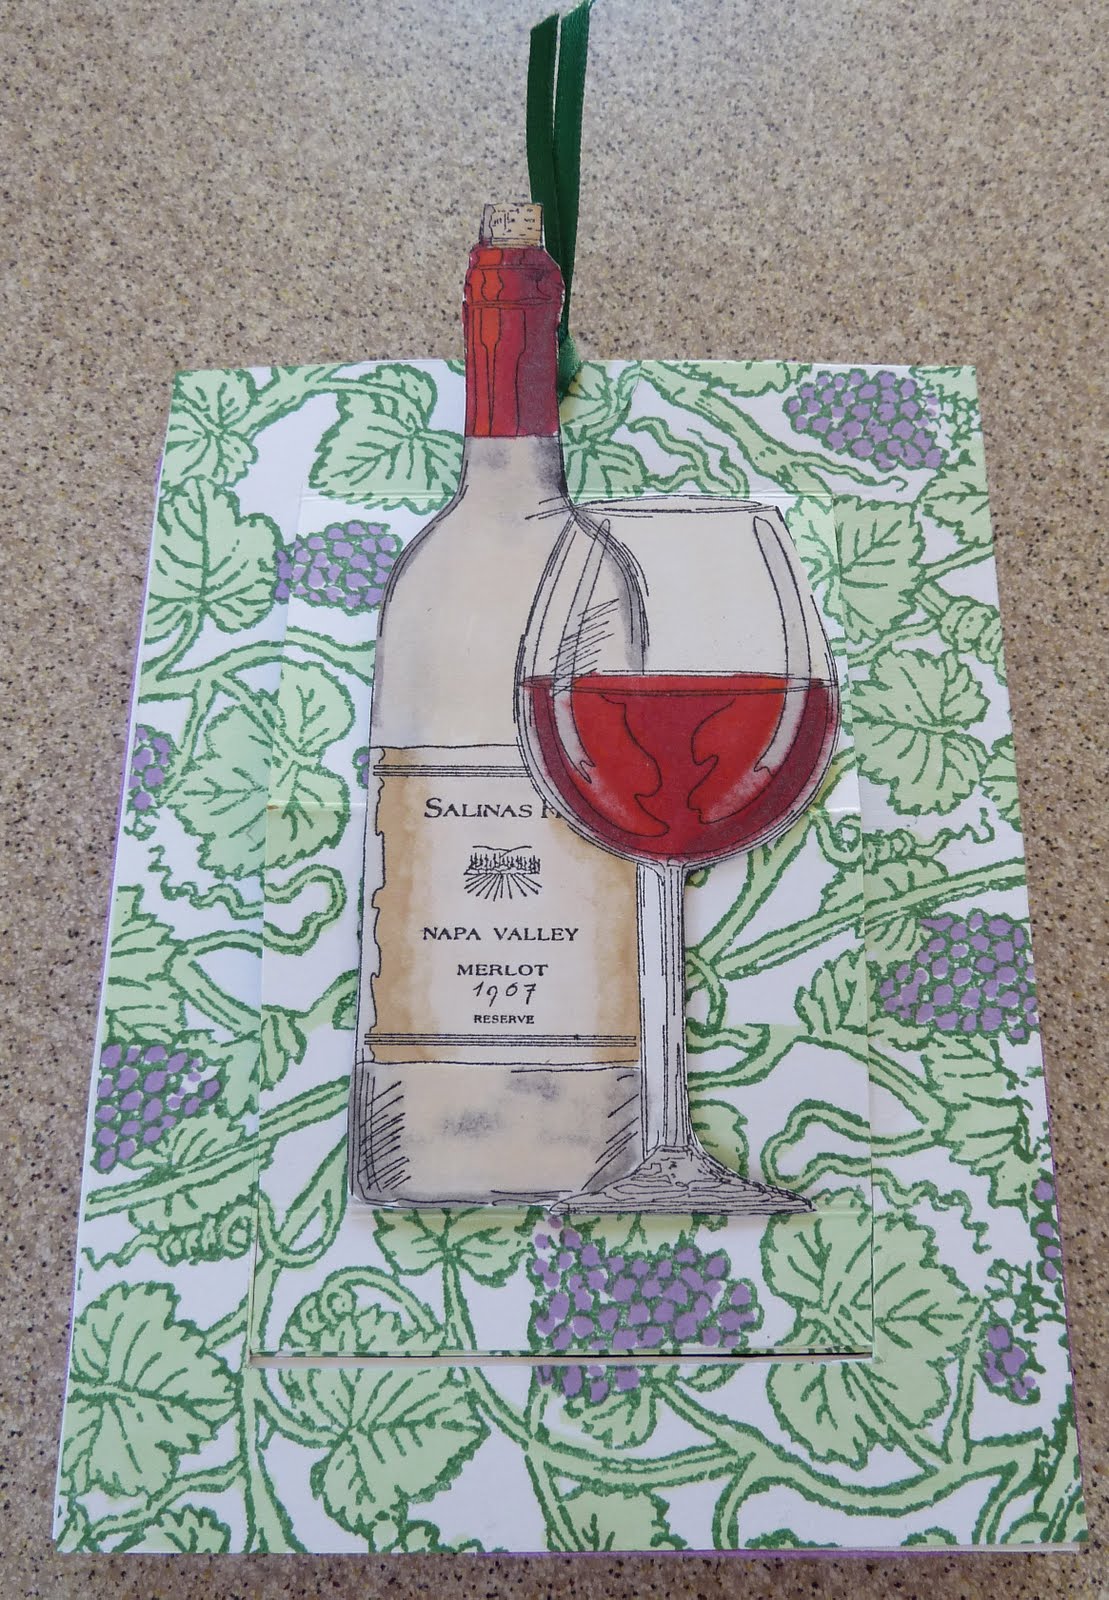
I used a background stamp from the Stamp Man for the grapevine and coloured it in using Promarkers and the glass and bottle is a stamp from Stamps Happen and again coloured with Promarkers. The sentiment inside the box is from Hobby Art.
I have titled this with men in mind as I think it would make a good Father's Day idea but of course most of us are partial to a drop of grape juice so would be suitable for anyone that likes a drink or three.....
Tuesday, 3 May 2011

Hello, hope you are all well. The card I have today is something for the fellas. My husband needed a card for a friend in his office and asked me to make something with cricket and rugby on it. After having a bit of a look in my crafty stash I found some suitable stamps. The background, rugby player and cricketer are all from the Stamp Man. They have been stamped with Memento ink and then coloured with Promarkers. I have also added some distress ink around the edges just to add interest. The rugby and football balls were just lurking in my cupboard and i have no idea where I got them from and the sentiment is from Hobby Art.

Thanks for looking and will be back soon............
Sunday, 1 May 2011
Happy Anniversary
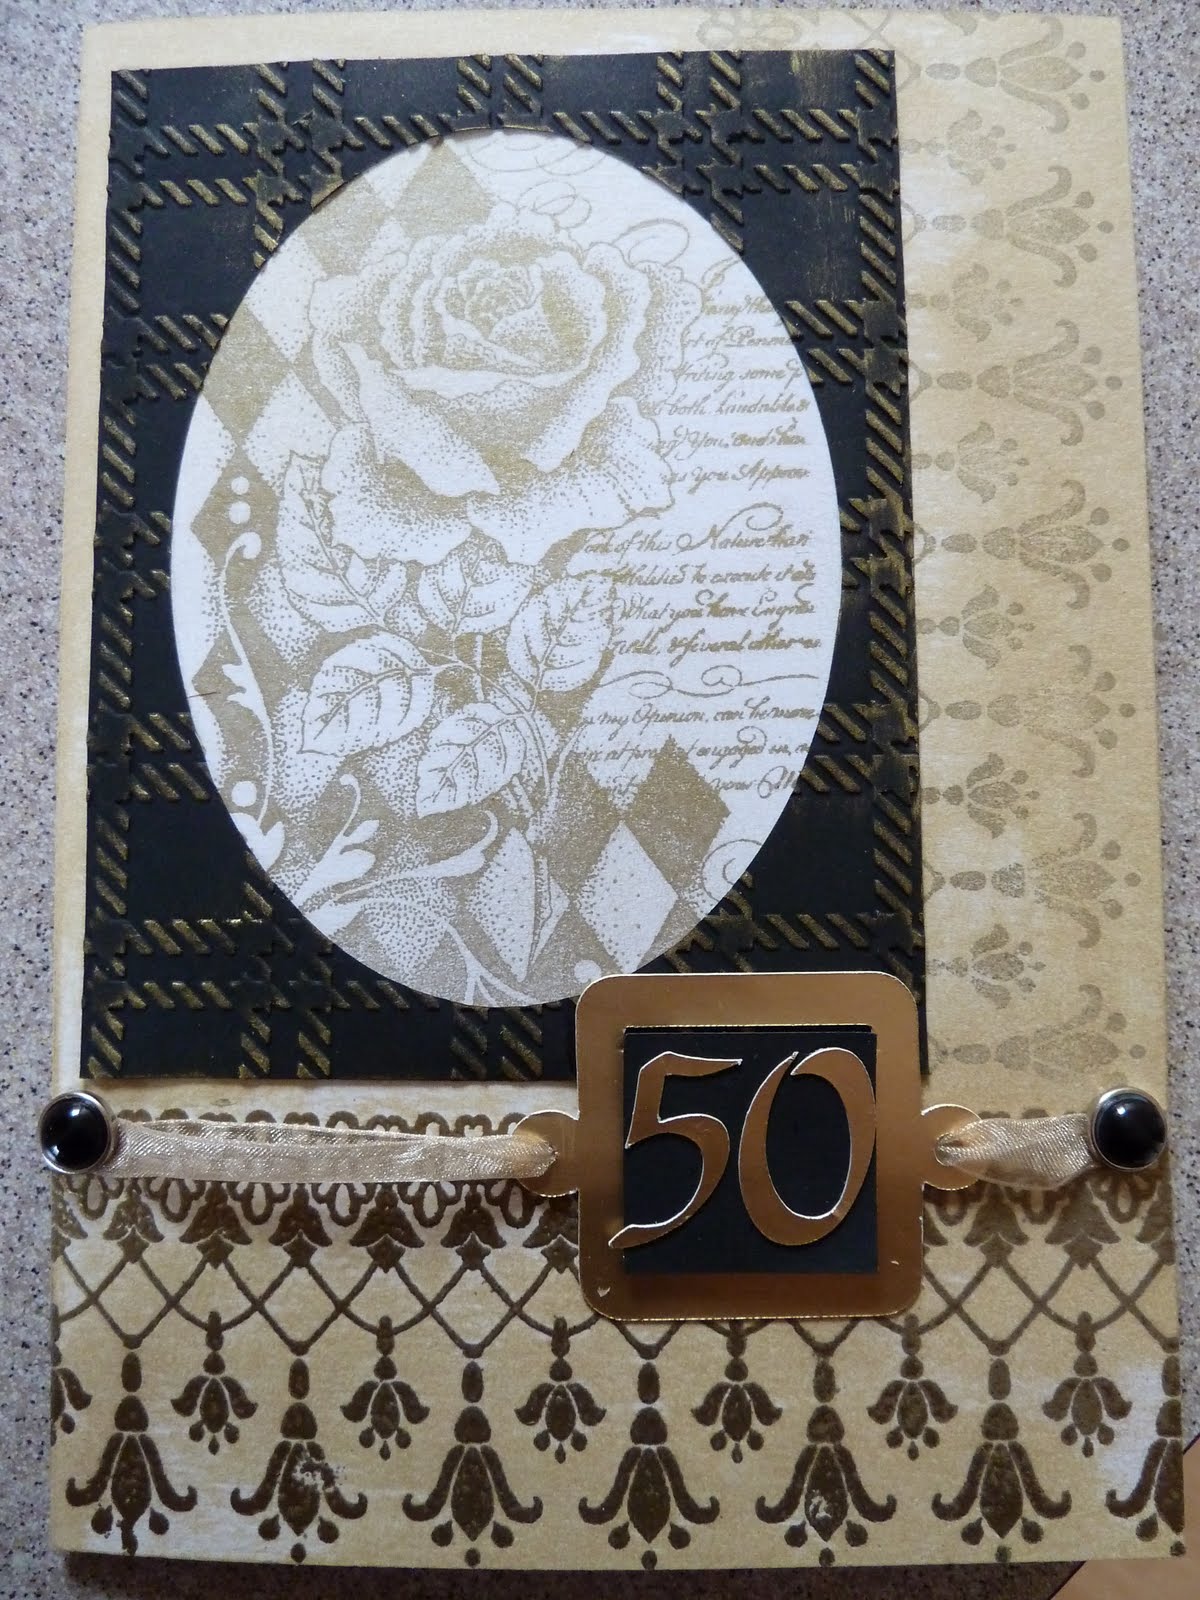 Afternoon all, I knew it wouldn't last very long with a post every day but I will do my best to post more often........
Anyway the card I have today was for a friend's 50th wedding anniversary. The stamps for this card are all from Chocolate Baroque. The frame was cut using a Sizzix oval and then embossed with a plaid Cuttlebug embossing folder. I then went over the embossing with gold rub on. The 50 was cut using the Cricut and finished off with organza ribbon.
Wednesday, 27 April 2011
 Good evening reader, the card I have to show is made with all unmounted stamps from Stamp Addicts. The script stamp has to be one of my favourites as it is so versatile. I have gold embossed it onto black card, for the background to this card and the "tiles" have been created from grungeboard that has been painted with acrylic paint before being stamped with the 3 ladies. I have then overstamped the tiles with the background stamp that makes it looked like a piece of cracked crockery. I love this effect but it is so easy to do. I punched the holes before clear embossing. The butterflies have been gold embossed onto pale lilac card before being cut out and mounted using pinflair gel. The card was finished off with a few beads strung on gold cord and threaded through the tiles and wound around the flower brads that are at either side of the tiles.
There you have it, my fourth post in four days, not sure how long I can keep this up.....

Tuesday, 26 April 2011
Vintage Music
 Evening bloggers, yes I have just managed to scrape in with a 3rd post in 3 days, really unheard of, must have had too much sun.
The stamps used are all from the same unmounted music set from Stamp Addicts. The base card was stamped with the violins which I coloured with promarkers and then masked before the sheet music was stamped using a black memento ink pad and then aged with distress ink. The top panel has also been created using the masking technique but instead of stamping the sheet music in black I have used a pale blue instead. Not sure who the musical gent is meant to be as I am not into music from this era, perhaps someone could let me know.......
Monday, 25 April 2011
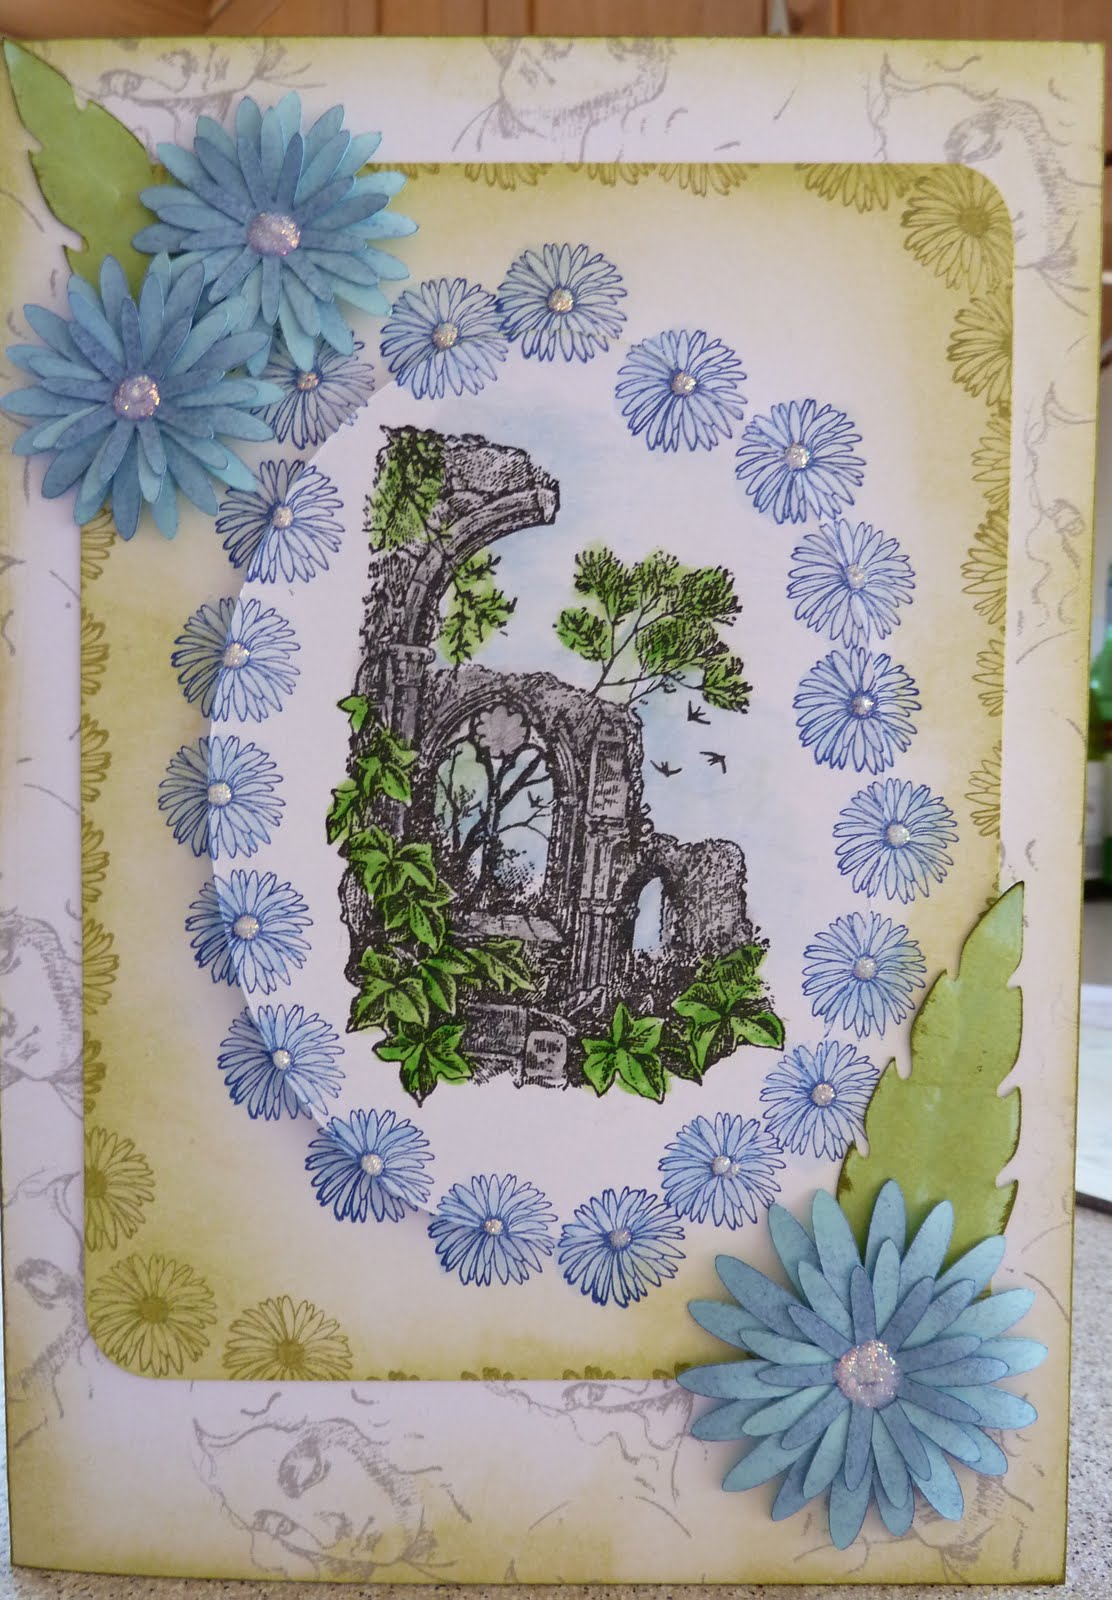 Wow two posts in two days, I think I need a sit down! This card was made using a set of unmounted stamps from Stamp Addicts. They have now started to produce a whole host of unmounted stamp designs which I love so more expense.....oh dear!
I began by stamping the base card with the sketchy ladies face design then I stamped the main image on separate card using a memento ink pad and coloured with watercolour before I cut out using an oval Sizzix die. I left the cut card in place whilst I stamped the flower stamp around the edge of the oval using a blue memento ink pad. The panel was then then mounted onto the base card using pinflair gel and the surrounding card was cut to size before attaching to the card with double sided tape . The flowers were cut on the Cricut using the Mother's day cartridge and then glued into place using the pinflair gel. To finish off, the centres of all the flowers have been given some sparkle from stickles and there you have the finished card.

Sunday, 24 April 2011
Happy Easter
 Happy Easter everyone, hope you are all enjoying the lovely weekend. I have neglected my blog for a couple of weeks as I have been decorating the dining room and then it was the school holidays so no time for crafting!
I made this card for my mother in law using the HobbyArt stamps and thencoloured with promarkers. The eggs were from an Elusive Image set. I stamped the base egg in a pale blue and then overstamped it with the speckled egg using a brown dye ink. I had a spare 15 minutes this afternoon and that is how long this card took to make so simple pimple!
Tuesday, 5 April 2011
Woodland Canvas
 Hello, hope everyone is ok. I made this canvas at the weekend using a mixture of stamps from Chocolate Baroque and Inkadinkadoo. I started off by painting the canvas with a green acrylic paint and then toned it down with a pale pink. I stamped the images on white tissue paper with various colours of Staz on ink and then applied it to the canvas with modge podge glue. Once it was dry I lightly brushed some black and brown acrylic paint around the edges to create an aged look and there you have it, one mini canvas
 Thursday, 31 March 2011
90th Birthday
 Hello crafters, the card I have for you this evening is one I made for my Aunt who lives in Canada. I cut the 90 on the Cricut and stamped the scroll corner and the birthday sentiment before setting about stamping the wisteria using a selection of green and pink dye ink pads. The card was then mounted onto black card before being attached to the base card. Sorry the post is even shorter than usual but I am really tired and can't think of anything intelligent to write........zzzzzzzzzzzzzzz.
 Monday, 21 March 2011
Relax It's Your Birthday
 This card I have to show this evening was made for a friends birthday last week. I used a Joanna Sheen stamp and coloured it with Promarkers. The sentiment stamped on the flower die and under the image are also from Joanna Sheen. The background was created by applying thin strips of masking tape to the base card and then light green ink was added using a big dusting brush. The bubbles, which you can just see in the photo were added before removing the masking tape and then mounting the design and flower sentiment. The little brown paper flowers were attached using sticky fixers and the centres were glittered with Glamour Dust.
Tuesday, 15 March 2011
Va va voom
 This card was made a couple of weeks ago for a friend's, sons birthday. I found the car stamp in my stash and think it was a freebie from a magazine. I coloured it with promarkers and mounted it onto black card. The backing paper was created by masking off sections with stickynotes and then stamping the car and colouring with Distress ink. The sentiment and backing paper was then mounted onto black card before being attached to the base card.
That's all folks
Subscribe to:
Posts (Atom)