Wednesday, 13 January 2016

Flower Lady


Hi folks, can't believe we are two weeks into the new year and this is my first post, so I will whisper "Happy New Year" as it's way too late......My mojo has definitely gone walkies, but hopefully not too far as I would love to get cracking on some new projects. 


I created this card using Inkadinkadoo stamps and a Crafters Workshop stencil that I found in the Chocolate Baroque sale.
I started by inking through the face stencil onto white card, followed by stamping the "hair" with the Inkadinkadoo hibiscus flower stamp. I coloured with Polychromos pencils and added three die cut flowers to add a bit of dimension. The face and background were coloured with Pan Pastels and then I stamped the Inkadinkadoo bird around the background. I used a rubber to remove some of the Pan Pastel to make the lines around the face and of course finished with generous blobs of Crystal Stickles.

Many thanks for stopping by

Julie x

Wednesday, 30 December 2015

Colour Challenge 18

Hello. Hope you all had a fantastic Christmas. This is probably my last blog post for this year so I will wish you all a very happy new year and hope to see you all again in 2016!
Today marks week 3 over at the Chocolate Baroque Challenge blog so you still have time to enter.
Here is the colour inspiration:


And here is my card using the Challenge colours:


I have used the Dotty Centre Flower Head stamp along with the Thank You stamp from Mackintosh sentiments.
I have stamped onto self adhesive address labels and coloured with Festive Berries Distress ink, before adding white highlights with a Zig paint pen. If you want further details you can find them over at the Chocolate Baroque Challenge blog.

Thanks for stopping by,

Julie x


Tuesday, 15 December 2015

Merry Christmas

Hi ya! Like most people this time of the year I am quite busy getting ready for Christmas and sadly I have not had enough time to make new projects for my blog so I have decided to show a few festive cards that I made earlier in the year for when Chocolate Baroque released their Christmas stamps.


This card was stamped with the Welcome Home cling mounted stamp and coloured with Polychromos pencils


I love the Christmas Candle Light set that this card come from as you can build up festive backgrounds with the little holly leaf stamp


This card is a combination of Festive Candle Light and Sparkling Trees. I have built up the background from the small pine cone stamp and the central panel was stamped with the twiggy tree. All coloured with Polychromas pencils and Distress Inks


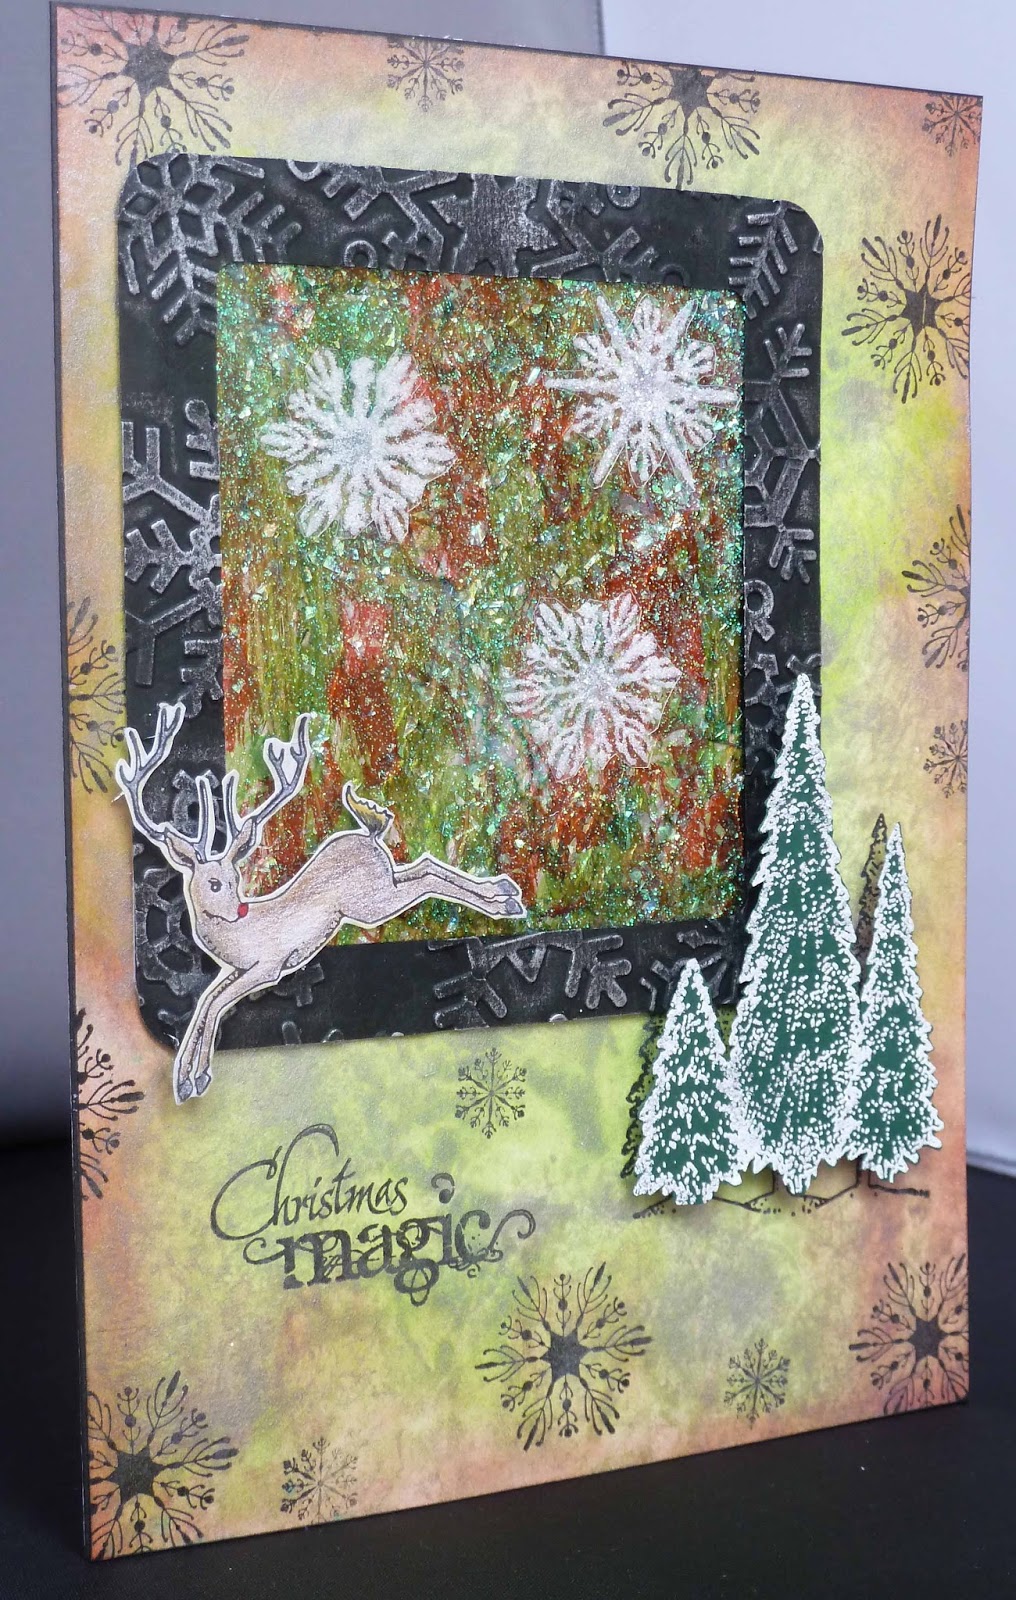
My last card is from Sparkling Trees. The background has been made with Aqua Tints and over stamped with Versafine. The decorative panel is Viva Crystal Gel that I spread onto a non stick craft sheet and when it was dry I peeled it off and coloured with alcohol inks.

Thanks for stopping by and hope to see you again soon.

Julie x

Monday, 30 November 2015

Autumn Edges

Hello. As Autumn is now turning into Winter I thought it would be the perfect opportunity to post my last Autumnal themed card as a goodbye to the lovely golden leaves and hello to the cold, damp, yucky days to come.......ha ha.


The stamp set used is Autumn Edges. I inked up the naked trees with Sepia Versafine and stamped in the centre of the card and added a light blue water colour to the sky. The grass was created by dabbing a wet wipe coloured with Distress Ink to get the stipple effect. I also used this technique to colour around the edge of the card.
The leaf edges were stamped and coloured, top and bottom of the trees and then stamped onto spare card so that I could water colour before cutting them out.
The individual leaves were arranged around the trees and stuck into place with 3d glue gel. To finish off I applied Crystal Stickles to most of the leaves to create a bit of shimmer.

Thanks for stopping by.

Julie x

Wednesday, 25 November 2015

Colour Challenge 17

Hello there, today is the start of the second week over at the Chocolate Baroque Challenge Blog


I really love the colour combo and have created this Steam Punk balloon card from the Punky Hearts collection


It is really simple, just stamped and water coloured and mounted onto black card. As there is a luxury gold element in the challenge colours I decided to use this as gilding flakes and applied the flakes around the edge of my design using Duo Embellishing Adhesive.
Many thanks for looking and hope to see your card in this month's Challenge.

Julie x

Tuesday, 24 November 2015

Haberdashery Fan

Hi, thanks for stopping by. Just thought I would share another card from one of the recent television shows that Lesley did on The Craft Channel.

I have taken elements from 3 of the stamp sets that were featured, starting with the fan which was created with the scissors from Haberdashery. I started by stamping the scissors as close to each other as possible and kept going until I had formed a semi circle. After cutting out I scored the card so it was easier to concertina up and fold as a fan. The corner and rose are from the Lace Fragments and the Create sentiment comes courtesy of Artistic Expressions.
Many thanks for looking.

Julie x

Thursday, 12 November 2015

Autumnal Edges


Hi there, thanks for stopping by. Just a quick post to share an Autumnal card made with Chocolate Baroque's Autumn Edges


I started by inking up the solid leaf border with a rainbow dye ink pad and stamping the base card as shown. On separate card I stamped the leaf, mushroom and berry borders 3 times each so that I could select which parts I wanted to cut out with my circle die.
Once cut I coloured with pencils and matched up the designs and glued into place with 3d glue gel.

Thanks for looking

Julie x

Friday, 30 October 2015

Lace Fragment Union Jack


Hello! Today I have another Craft Channel show card that I have stamped with the Lace Fragments set.


This was quite a fun card to make. I searched for a union jack template on the Internet and then printed it out 3 times. I then took a craft knife to cut out sections of the flag before sponging through red and blue distress ink and then over-stamping with the lace fragments.

Many thanks for having a peek.

Julie x

Wednesday, 28 October 2015

Chocolate Baroque Colour Challenge 16


Hello, today is the start of a new week over on Chocolate Baroque's Colour Challenge and these are the chosen colours, which I think are really beautiful.


 The project I have made in the challenge colours has been stamped with the Patchwork Landscape set. This card was also on the recent Craft Channel show that featured a whole host of Chocolate Baroque goodies

I stamped all of the images in Sepia Versafine and coloured with Polychromos pencils. The base card was then brushed with Broken China Distress ink, followed by a few dabs of blue and yellow acrylic paint. I finished off the base card by edging it with Pickled Raspberry Distress ink.
I added the sunrise behind the cottage by sponging distress ink through a die cut circle and added the sun rays with more distress ink against a straight edge of scrap paper. I finished the central image off by dabbing light blue acrylic paint around the edge.

Many thanks for stopping by.

Julie x

Tuesday, 27 October 2015

A Little Bird Told Me......


Hello lovely people, I thought I would start showing the cards I created for the recent Chocolate Baroque television shows that Lesley did for The Craft Channel. This is the first one and has been stamped with A Little Bird Told Me set.


Sadly the picture doesn't show the clouds very well in the background, but I created these with Broken China Distress ink and stamped the little decorative stamp with grey Versafine ink. The bird and cage has been coloured with Polychromos pencils and the background on the bird panel was sponged with a wet wipe and Distress ink.
To get the bird peeking out of the panel I first cut around it's head with a pair of scissors. Then I placed  the torn edge die around the entire image and carefully lifted the birds head over the cutting edge to avoid beheading the little fella!

Many thanks for stopping by.

Julie x

Tuesday, 20 October 2015

Dreaming Of The Beach


Helloooo! Thought I would post this frame design I made in memory of the summer that has just passed. The Gesso washed over the Kraft card makes it looks quite wind swept so if you visit the beach in the next few days it's probably quite realistic, however Shabby Chic was the look I was aiming for so I will let you decide......


The Beach Huts is a stamp from Chocolate Baroque and comes from the Seaside Dreams set and the sea horse which I embossed in blue, comes from the Sea Shore set.
I stamped the beach huts over the dried Gesso with a Sepia Versafine and then coloured the image with Polychromos pencils.
I recycled the old picture frame by covering it with ready mixed wall filler and strips of burlap ribbon and when it was dry, painted with a pale blue acrylic paint.

Thanks for stopping by

Julie x

Wednesday, 7 October 2015

Halloween Party


Hi, just a quick post to share a last minute Halloween party idea, created using Chocolate Baroque stamps. This fantastic little set is called Put a Spell on You and I have made a place card and tag for your party bags.

The place card is just a square piece of card, but before folding in half, stamp the ghosts around the middle, then take a craft knife and cut out the top of the middle ghost and any of the other bits that will appear above the fold line. Crease and fold the card and then stamp the spider and cobweb before colouring with pencils and Distress Ink.

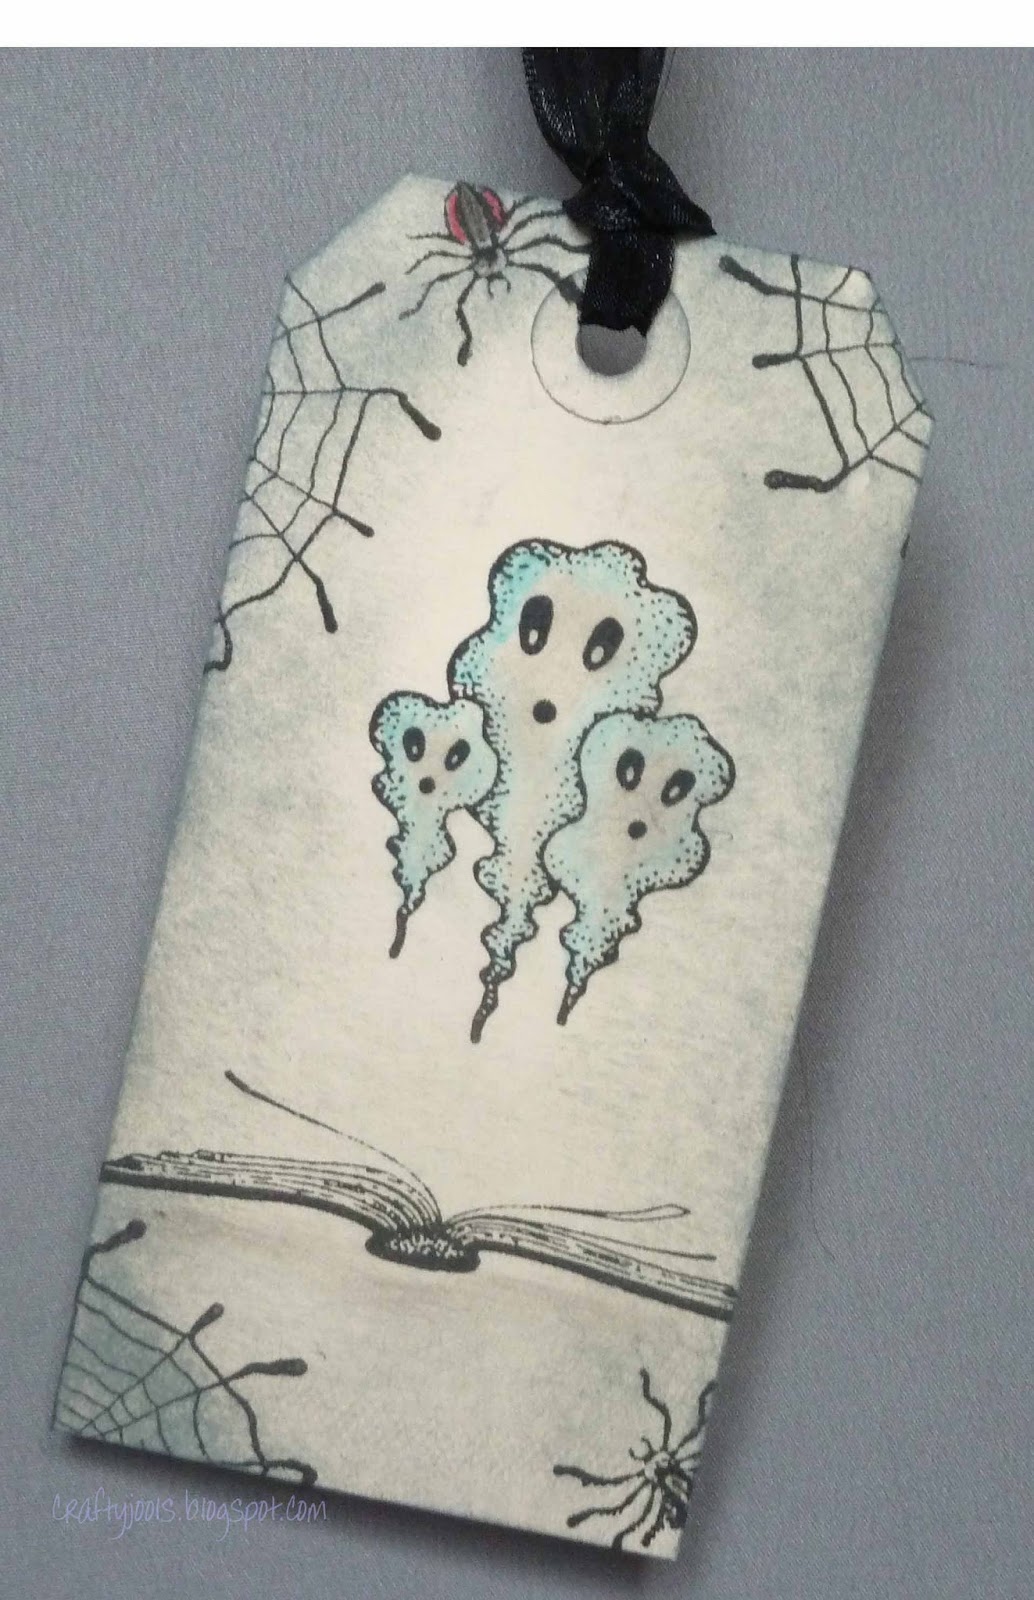
This little tag is designed to match the place cards and is just stamped with Black Onyx Versafine ink, coloured with a pale blue watercolour pencil and then Weathered Wood Distress ink applied over the top.

Many thanks for stopping by and hope to see you again soon

Julie x